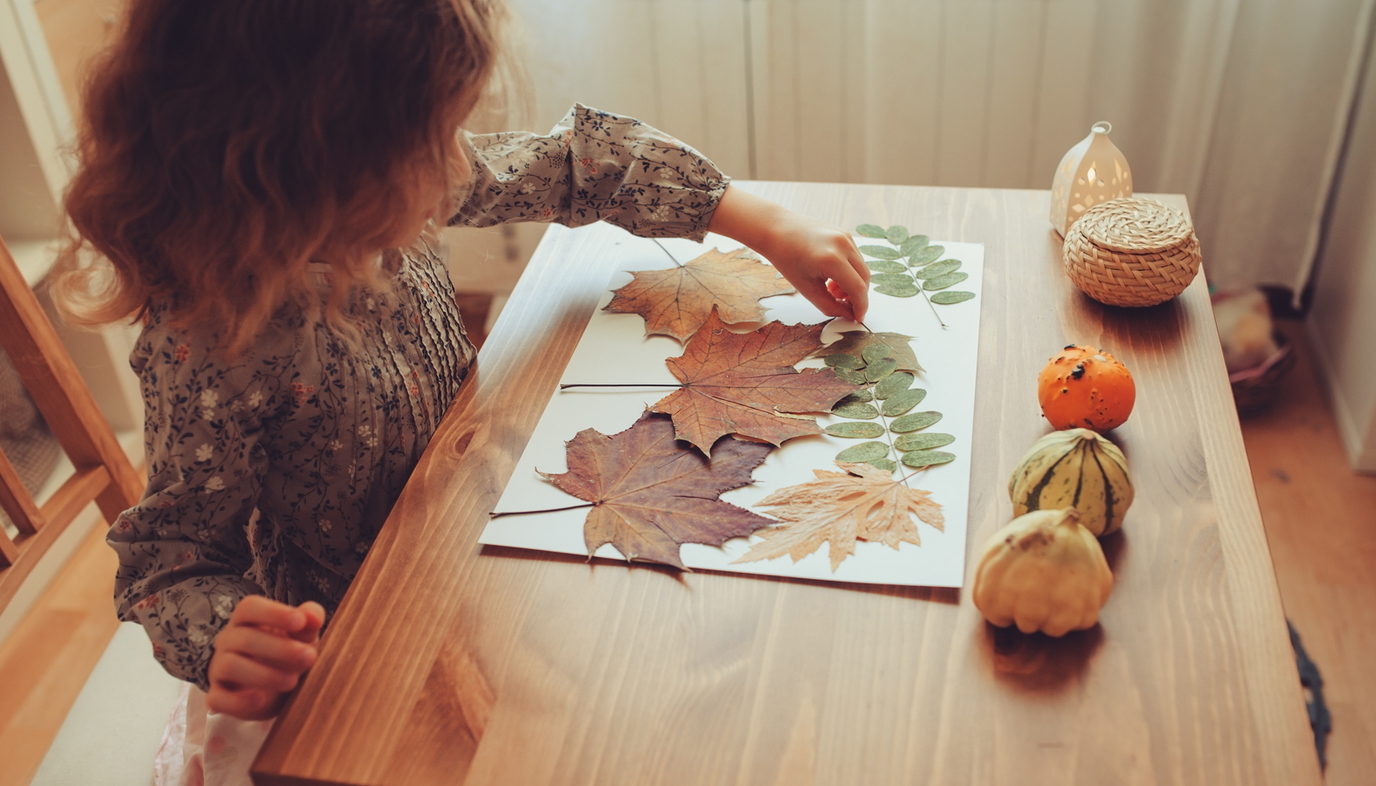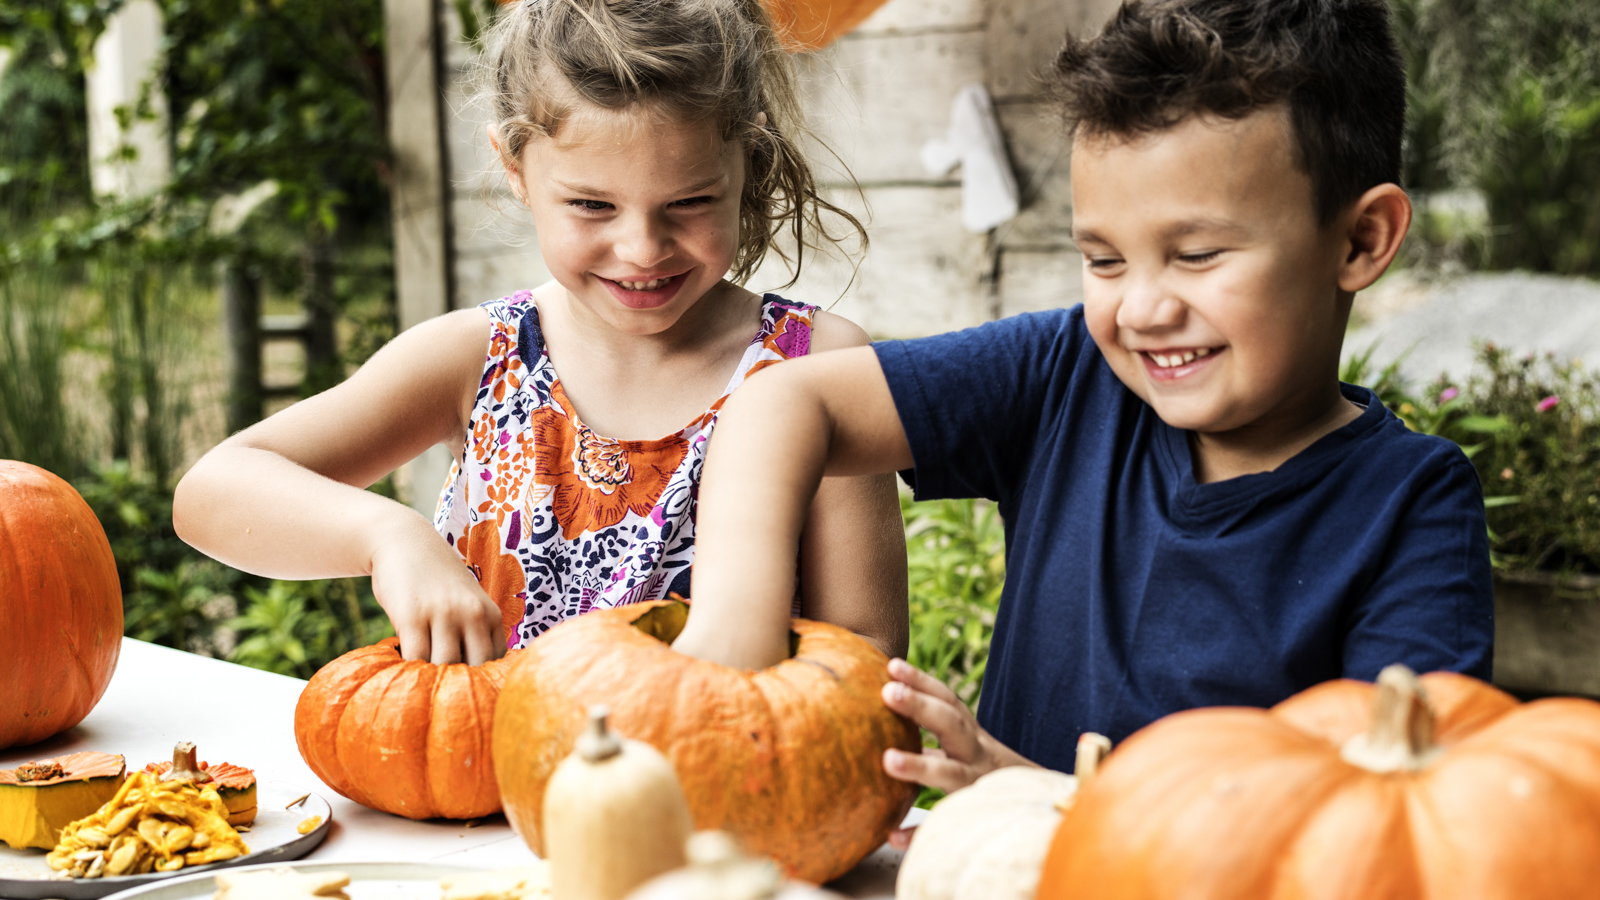
The warm, rich colors of fall – from autumn leaves to gourds and pumpkins – serve as a great inspiration for making nature-based crafts with your kids. It’s also a good time of year to get creative, because many of the materials you need are right at your feet. The following crafts are designed to be easy for a small child to do (with adult supervision) after a short nature walk.
“Family Tree” Leaf Rubbing
Ages 2 to 5 Skill Level: Easy
Materials needed:
One large piece of light- or medium-weight white paper (not construction paper); newspaper; a selection of crayons with labels removed; leaves.
Take a nature walk with your child and pick out one leaf for each member of your family. The biggest leaf can be your “daddy leaf,” the smallest leaf can be the “baby leaf,” and so on. Line up the leaves on a sheet of newspaper on top of a flat, hard surface; then carefully place the sheet of lightweight paper on top of the leaves. While you hold the sheet of paper in place for your child, have your child rub the side of the crayon over the shape of the leaf. Repeat with different colors for each member of the family. To make your “family tree” extra-special (and to give some practice with letters), have your child write each person’s name under his or her leaf.

Fall Seed Shakers
Ages 3 to 6 Skill Level: Easy to Medium
Materials needed:
Round cardboard breadcrumb containers, construction paper, scissors, glue, markers or crayons, and a mixture of acorns, pebbles, seeds, small pinecones, or other small hard items you can find on a nature walk.
Divide your nature items into small piles by category and then put each pile into a breadcrumb container (so one container has the acorns, one container has the pinecones, etc.). Glue the top onto the container. Trim the construction paper to match the height of the breadcrumb container, apply glue to one side of the paper, and carefully roll the paper around the container, glue side down, so the paper is completely covering the container. When the glue dries, decorate the outside of each shaker with markers or crayons. Compare the sounds of each shaker and have your friends try to guess which item is in each shaker.
No-Cut Crazy Pumpkin Faces
Ages 4 to 10 Skill Level: Medium
Materials needed: An assortment of small, round pumpkins and gourds; pebbles, pine needles, seeds, and seed pods, branches, and dried leaves; glue.
You won’t need a knife to make these funny pumpkin faces. Decide which side of your pumpkin or gourd looks most like a face, and then decorate away! Here are some ideas to get you started:
Scaredy Cat
Glue to the pumpkin two small pebbles for eyes, two pointed leaves for ears, a small twig for a mouth, and two sprays of pine needles for whiskers.
Batty Bat
Glue two large, pointy leaves to the side of the pumpkin for wings and two small pointed leaves to the top for ears. Glue small pebbles for eyes, and small pointy seeds, point side down, for the fangs.
Silly Clown
Glue two pumpkin seeds for eyes, one large sycamore seed ball for a nose, and a long, flat seed pod for the lips. Use an assortment of dried fuzzy branches for hair.
Smiley Scarecrow
Glue two round pebbles for eyes, a flat triangular pebble for a nose, and a curved twig for a mouth. Glue handfuls of straw for hair to the top of the pumpkin; top with a floppy hat.

