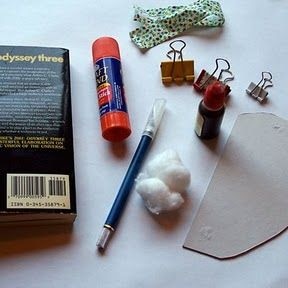
Gather your supplies
To make this pumpkin centerpiece you will need: a book for dismembering (paperbacks are great), a pumpkin template (the tutorial that follows uses an apple template, but the idea is the same), exacto knife with a very sharp blade, clips, glue sticks, snot dots, ink or paint for coloring and something to apply it with, anything you want to decorate with.
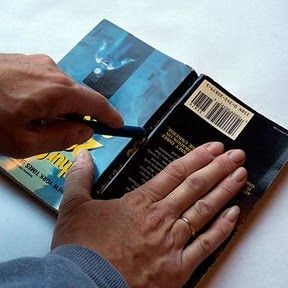
Step 1
If your paperback is thick start by splitting your paperback in half using your exacto knife. Try to make a clean break or you will end up sacrificing some pages.
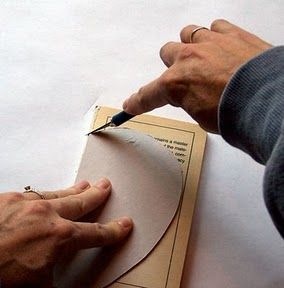
Step 2
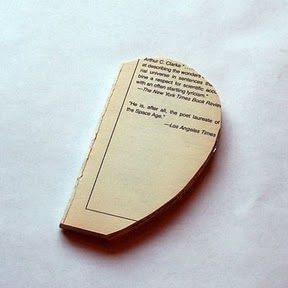
Lay the template down on the book and cut the pages around the template. Be careful not to cut into the template and try to cut only a few pages down at a time to start. Try to make one smooth cut if you want to avoid rough edges.
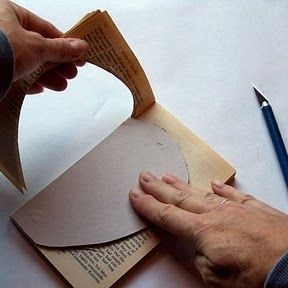
Step 3
Remove the cut paper leaving the template in place. Cut and repeat. Continue cutting and repeating. You may only be able to cut about 4 pages at a time at first, but after you get the hang of it you should be able to cut through more.
Step 4
Once the book is cut, trim any rough edges you don't want, especially those that are hanging off. This will help for the next step: inking.
Step 5
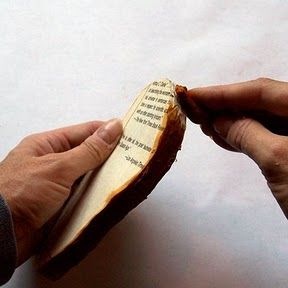
For color use an ink refill. Dilute it a bit so that it soaks into the paper. Apply ink with a cotton ball around the edge of the book. Paint could also be used, but you will have to experiment with the application technique.
Step 6
Once the edges are done, apply the ink/water mixture to the inside of the pages using a “flip and wipe” method. Turn the book over and then do the same thing on the other side. Don’t worry about trying to get every single page. This will give it a worn effect. Let it air dry or use a heat gun to lightly dry the edges.
Step 7
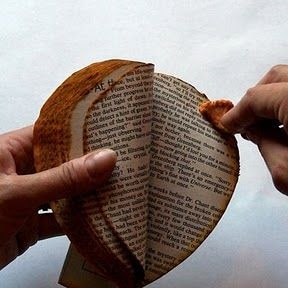
Once the book is dry you will need to stretch the spine so it opens. If the spine has not had a lot of wear it may not fan well on its own. Stretch the spine open in random spots to help loosen it up.
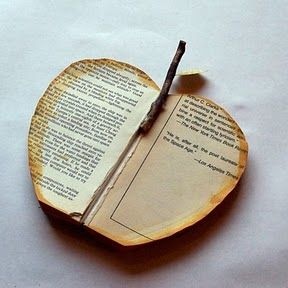
Step 8
Create your stem. To make this apple, a wooden stick and paper leaf was used for the stem. For the pumpkin, a wired ribbon, wire and lace were used.
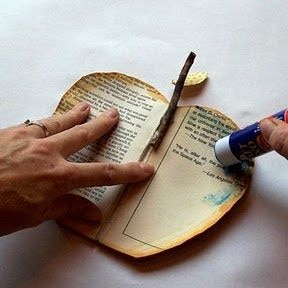
Step 9
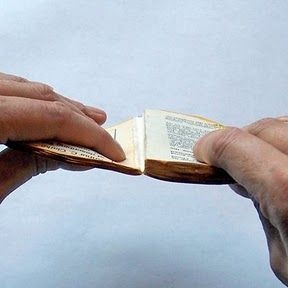
Apply a good craft glue stick to one side of the book making sure you go all the way to the edges.
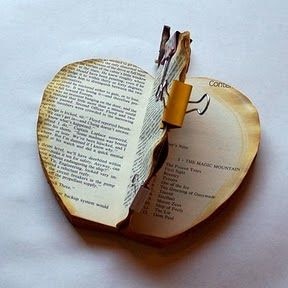
Step 10
Carefully close book and clamp tight. Let it dry. Add any additional decorations at this point.
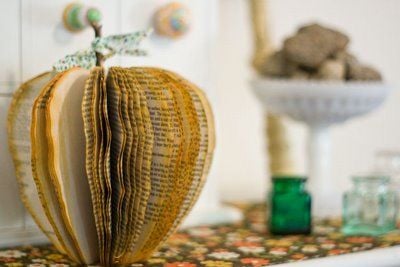
Step 11
Fan the book a couple of times to get an even shape. You are done.